Unlock your creative potential in Roblox by mastering how to make Roblox decals. This comprehensive guide is tailored for busy US gamers who seek efficient methods to personalize their gaming experience, whether they're balancing work, family, or other life commitments. We dive into the essential steps, tools, and best practices for creating, uploading, and using custom decals effectively. From understanding Roblox's moderation policies to optimizing image quality and troubleshooting common issues, this article provides practical, actionable advice. Learn to design unique textures, signs, and aesthetic elements that will make your Roblox creations stand out. This resource addresses the pain points of new and experienced creators alike, ensuring you can enhance your game worlds without unnecessary hassle. Discover how to leverage free tools and simple techniques to bring your visions to life, making your virtual spaces truly your own. Stay ahead of trends and connect with the vibrant Roblox community through your personalized creations.
How do I find free images to use for my Roblox decals legally?
Finding free and legal images for your Roblox decals is simpler than you think. Websites like Pixabay, Unsplash, and Pexels offer a vast library of high-quality, royalty-free stock images that are often free for commercial and personal use. Always double-check the specific license for each image, as some may require attribution. For icons or simple graphics, sites like FlatIcon or The Noun Project provide many free options. This ensures you stay compliant with Roblox's moderation rules regarding copyrighted content while still having access to a wealth of creative resources.
What are the common mistakes to avoid when making Roblox decals?
When making Roblox decals, common mistakes include uploading copyrighted material, which leads to immediate rejection, or using overly low-resolution images that appear pixelated in-game. Another frequent error is forgetting to remove backgrounds for logos, resulting in a clunky white box around your image. Neglecting Roblox's content policies regarding inappropriate or offensive material is a serious misstep. Lastly, failing to test your decal in Roblox Studio to see how it interacts with different lighting and surfaces can lead to unexpected visual outcomes.
Can I create animated decals for Roblox?
Unfortunately, direct animated decals like GIFs are not natively supported as traditional decals on Roblox. Decals are static 2D images. However, creative builders can simulate animation effects by rapidly switching between multiple static decals on a surface using scripting (e.g., changing the TextureID property of a Part's Decal object at intervals). This requires a bit more technical know-how but allows for dynamic visual effects within your game, giving the illusion of animation without true GIF support.
How do I optimize decal quality without increasing file size too much?
Optimizing decal quality without excessive file size is crucial for game performance. Start by using appropriate dimensions, typically 512x512 or 1024x1024 pixels for a good balance. When saving, use PNG format for transparency and sharp details, but ensure you compress it using image optimization tools (many free online compressors exist). Avoid unnecessary layers or excessive detail in your source image if it won't be visible in-game. For photos, JPG is efficient but can lose quality with too much compression. Aim for the smallest file size that still maintains acceptable visual fidelity once scaled in Roblox Studio.
What's the difference between a Decal and a Texture in Roblox?
While often used interchangeably, in Roblox Studio, a Decal is typically a 2D image applied to a single face of a Part, similar to a sticker. It has a specific image ID. A Texture, on the other hand, is generally an image that tiles seamlessly across a Part's surface, or even the entire terrain, repeating itself. While you upload both as images, when you apply an 'Image ID' to a Part's 'Texture' property, it often functions more like a repeating pattern. Using the 'Decal' object directly applies the image to one face and offers specific decal-related properties.
How do I ensure my custom decal is visible to all players?
To ensure your custom decal is visible to all players in your Roblox game, the most critical step is successful moderation and approval by Roblox. Once approved, the decal's image ID becomes publicly accessible within the game environment. You must also correctly implement the decal in your game using Roblox Studio, applying it to parts within your game's hierarchy. Ensure your game itself is published and publicly accessible. If players are having trouble seeing it, double-check that the decal's properties haven't been set to fully transparent or that it isn't hidden behind another object in-game.
Can I sell or monetize my custom Roblox decals?
Yes, you can indirectly monetize your custom Roblox decals. While you can't sell the decal asset itself as a standalone item on the marketplace, you can incorporate your decals into game assets or experiences that you then monetize. For example, if you create a game and use custom decals to enhance its visuals, and that game charges Robux for access, game passes, or in-game items, then your decals contribute to the game's appeal and thus its monetization. Creators also use decals as branding for their developer groups or merchandise within Roblox experiences, leveraging them as part of a larger monetization strategy.
Hey fellow gamers! Ever wanted to add that personal touch to your Roblox creations? Maybe a cool logo for your game, a unique texture for a building, or a custom sign for your shop? You're not alone. Many of us, especially those juggling jobs, families, and life's demands, find ourselves with limited time but boundless creativity. We want to make our gaming experiences special, whether for relaxation, social fun, or even a bit of skill-building. The good news is, learning how to make Roblox decals isn't as complicated as it might seem, and it's a fantastic way to make your mark in the Roblox universe without investing hours into complex coding.
As US gamers, we spend an average of 10+ hours a week engaging with our favorite titles, with 87% playing regularly. Mobile gaming continues its dominance, and social play is a huge draw. Roblox, in particular, thrives on user-generated content and community interaction. Decals are fundamental to this, allowing you to visually customize virtually anything. But let's be real, diving into new creative tools can feel like another chore if it's not straightforward. This guide is designed to cut through the noise, providing clear, actionable steps to help you create, upload, and use stunning decals in Roblox. We'll tackle common pain points like image preparation, moderation hurdles, and making your decals look fantastic, all while respecting your valuable time. By the end, you'll be equipped to bring your unique visual ideas to life, enhancing your games and standing out in the vibrant Roblox community. Let's get started on boosting your Roblox builder skills!
What Exactly Are Roblox Decals and Why Should I Use Them?
Roblox decals are essentially 2D images that you can upload to the Roblox platform and apply to 3D objects within your games. Think of them as custom textures, stickers, or even posters that bring your creations to life. They're a cornerstone of visual customization in Roblox. Why use them? Well, they allow for unparalleled personalization, letting you brand your games, add intricate details to models, create custom GUIs, or even display memes. For gamers who enjoy building and world-crafting, decals are crucial for expressing creativity and making your experiences truly unique. They save time compared to building complex shapes and can greatly enhance the aesthetic appeal and immersion of your game, making it more engaging for other players, and potentially drawing more attention to your creations.
What Tools Do I Need to Make Roblox Decals?
You don't need fancy, expensive software to make great Roblox decals. The most important tool is an image editing program. Many free options are excellent for this, such as GIMP or Paint.NET, which offer robust features similar to Adobe Photoshop without the subscription cost. Even simpler tools like Microsoft Paint or an online editor like Pixlr can work for basic decals. Beyond that, a stable internet connection for uploading is a must, and of course, a Roblox account. It's about leveraging what you have and understanding the basics of image manipulation rather than acquiring specialized software. The goal is accessibility and ease of use, so don't feel pressured to buy anything if you're just starting out.
How Do I Prepare My Image for Uploading to Roblox?
Preparing your image is a critical step for successful Roblox decal creation. First, ensure your image is a common file type like JPG, PNG, or BMP. PNG is often preferred for images with transparency, which is great for custom shapes or logos that blend seamlessly. Roblox generally recommends image dimensions to be square, such as 512x512 or 1024x1024 pixels, for optimal display without stretching or distortion. Keep the file size reasonable; while Roblox handles larger files, smaller ones upload faster and load quicker in-game. Most importantly, check that your image complies with Roblox's Community Standards. Avoid anything inappropriate, copyrighted, or offensive, as it will be rejected by the moderation system. A little preparation goes a long way in avoiding upload headaches.
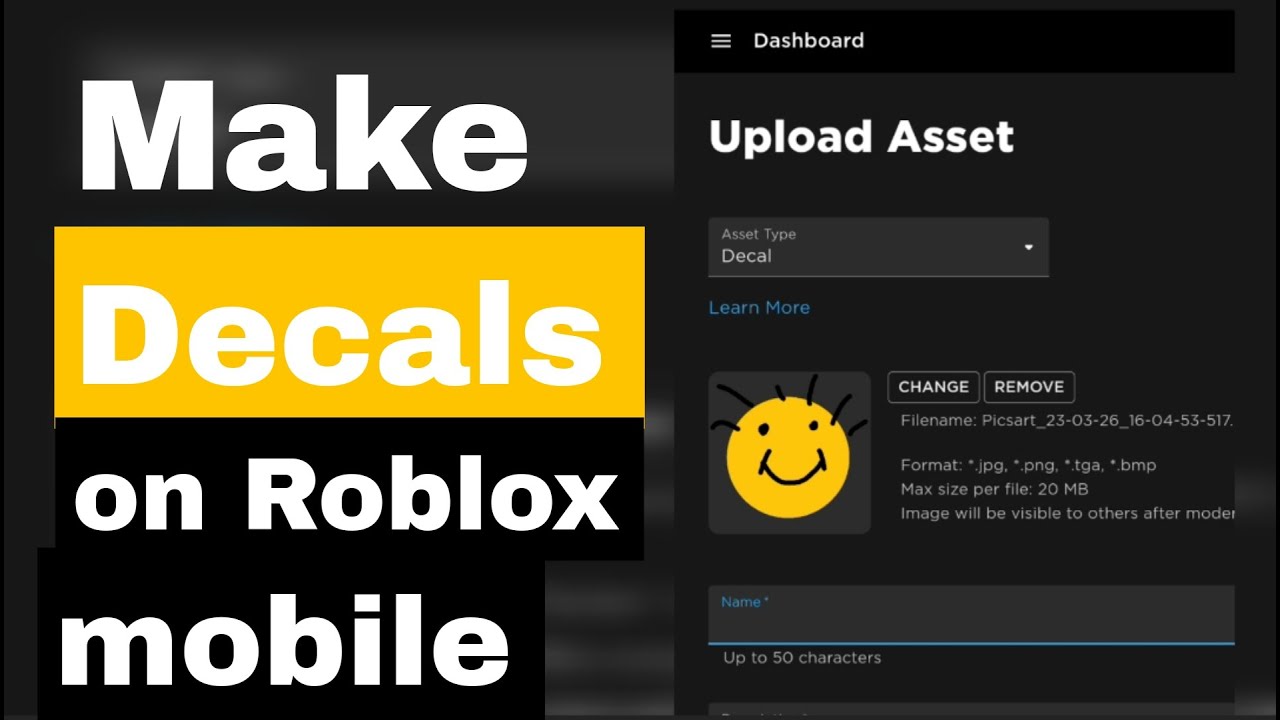
What Are the Steps to Upload a Decal to Roblox?
Uploading a decal to Roblox is a straightforward process once your image is ready. Here's a simple breakdown:
- Log In to Roblox: Go to the Roblox website and log into your account.
- Navigate to Create: Click on the 'Create' tab at the top of the page. This will take you to your Roblox Studio dashboard.
- Find Decals Section: On the left-hand menu, under 'Develop', click on 'Decals'.
- Choose Your File: Click the 'Choose File' button to browse your computer and select the image you've prepared.
- Name Your Decal: Give your decal a descriptive and unique name. This helps you find it later and makes it clear to others what it is.
- Upload: Click the 'Upload' button.
- Wait for Moderation: Your decal will then go through Roblox's moderation process. This can take anywhere from a few minutes to several hours. You'll see a 'Moderating' status until it's approved.
How Can I Use My Decal in a Roblox Game or Experience?
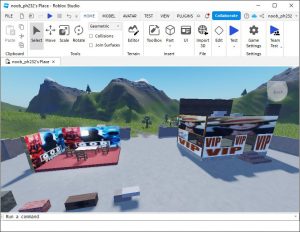
Once your decal is approved and in your inventory, it's time to put it to work! You'll need Roblox Studio for this.
- Open Roblox Studio: Launch Roblox Studio and open the game or experience you want to edit.
- Find the Decal: In the 'Toolbox' window (usually on the left side), go to the 'My Creations' tab, then select 'Decals'. Your newly uploaded decal should appear there.
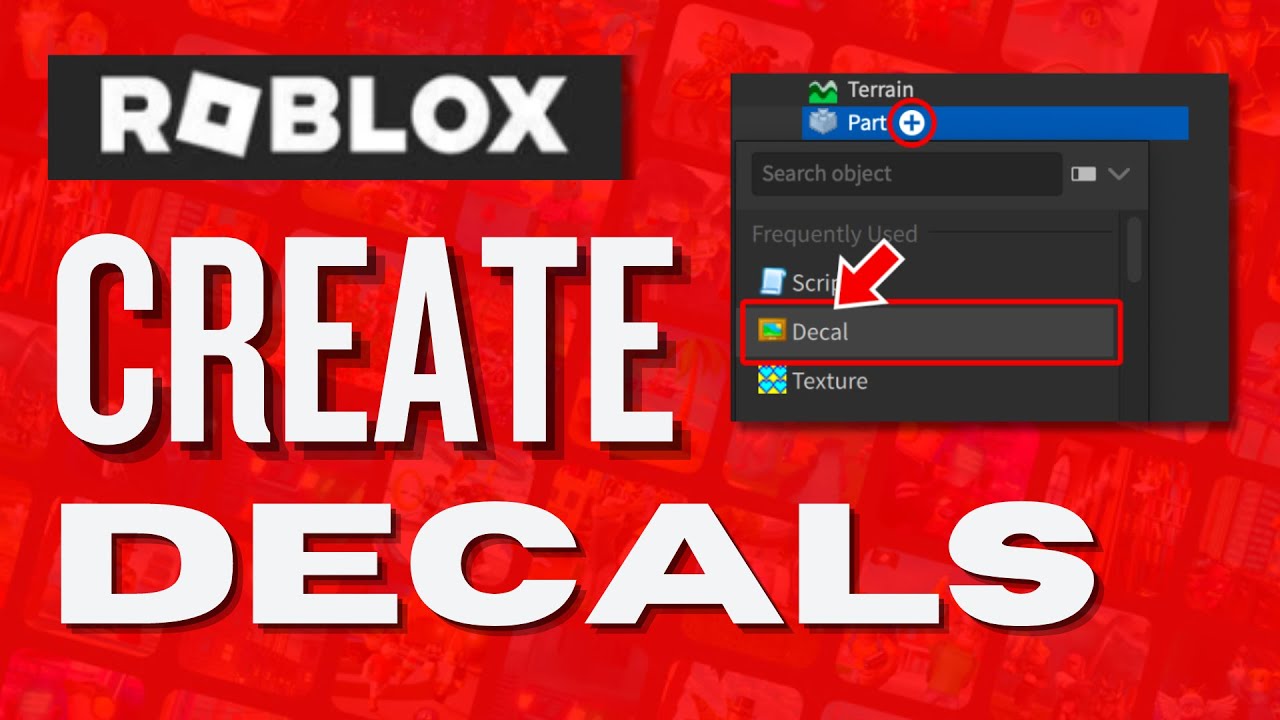
- Apply to a Part: Drag and drop the decal directly onto a 'Part' object in your game world. Roblox Studio will automatically create a 'Decal' instance under that Part.
- Adjust Properties: Select the 'Decal' instance in the Explorer window. In the 'Properties' window (usually on the right), you can adjust its 'Face' (which side of the part it appears on), 'Transparency', 'Color3', and other settings to fine-tune its appearance.
- Experiment: Don't be afraid to try different parts, sizes, and orientations to get the look you want. Decals can be applied to bricks, meshes, and more to create intricate details or simple signs.
What Are the Roblox Moderation Rules for Decals?
Roblox moderation for decals is strict to ensure a safe and positive environment for its diverse user base. Key rules include: no inappropriate content (nudity, gore, sexual themes), no hate speech or discrimination, no personal information, no spam or phishing, and absolutely no copyrighted material without permission. This means you can't just upload a company logo or a character from another game unless you own the rights or have explicit permission. Violating these rules can lead to your decal being rejected, your account receiving a warning, or even a temporary or permanent ban. It's always best to err on the side of caution and create original, family-friendly content to avoid any issues.
My Decal Was Rejected. What Went Wrong and How Can I Fix It?
A rejected decal can be frustrating, but it's a common experience. The most frequent reasons for rejection include:
- Copyright Infringement: Using images you don't own the rights to.
- Inappropriate Content: Anything deemed offensive, explicit, or violent by Roblox's standards.
- Personal Information: Uploading images containing real names, addresses, or contact details.
- Low Quality/Unclear: Sometimes, blurry or very low-resolution images can be rejected.
- Misleading Name: Naming a decal something unrelated to its actual content can trigger moderation.
Can I Use Free Image Resources for Decals?
Absolutely, yes! Many free image resources are available that you can use for your decals, provided you check their licensing. Websites like Pixabay, Unsplash, or Pexels offer high-quality, royalty-free stock images that often don't require attribution for commercial use. Just be sure to read the specific license for each image you intend to use. For vector graphics and icons, FlatIcon and The Noun Project can be great sources. You can also find free textures on sites like Textures.com (check free tiers). These resources are fantastic for gamers looking to create professional-looking decals without investing in paid stock photos or hiring a designer, perfectly balancing quality and budget.
How Can I Make My Decals Look More Professional?
Making your decals look professional elevates your Roblox experience. Here are some tips:
- High Resolution: Start with high-resolution images. Pixellated decals look amateurish.
- Clean Edges: Use transparent PNGs for logos or cut-out elements to avoid blocky backgrounds.
- Consistent Style: If you're using multiple decals in one game, try to maintain a consistent art style or color palette.
- Text Readability: If your decal includes text, ensure the font is clear and large enough to be easily read in-game.
- Test in-game: Always test your decals within Roblox Studio on various objects and lighting conditions. What looks good on your screen might look different in the actual game.
- Shadows and Lighting: Consider how in-game lighting will interact with your decal. Sometimes, adding a subtle drop shadow or outline in your image editor can make text pop.
Are There Any Costs Associated with Uploading Decals?
Generally, uploading decals to Roblox is free. However, there's a nuance. While you can upload images without spending Robux, there's a daily limit to the number of assets you can upload for free. If you hit this limit and need to upload more, Roblox may prompt you to spend a small amount of Robux per additional upload. This rarely affects the average creator, but it's good to be aware of if you're planning a massive content creation spree. For most gamers creating a few decals here and there, you won't encounter any direct costs. It's one of Roblox's many accessible features, supporting its creator-driven ecosystem.
Conclusion
Mastering how to make Roblox decals is a rewarding skill that significantly enhances your game development journey. Whether you're a casual builder or an aspiring game creator, applying these tips will allow you to personalize your worlds, express your unique vision, and stand out within the vast Roblox community. Remember, it's about making your mark creatively and efficiently, balancing your passion for gaming with life's other demands. By understanding image preparation, navigating moderation, and leveraging free tools, you're well on your way to crafting visually compelling experiences that resonate with players. Keep experimenting, keep creating, and most importantly, have fun with it!
What's your biggest challenge in customizing your Roblox games? Comment below!
FAQ Section
What is the best image format for Roblox decals? PNG is generally the best format for Roblox decals, especially if you need transparency. It offers good quality and supports alpha channels, allowing for images with cut-out shapes that blend seamlessly into your game environment.
How long does Roblox decal moderation take? Roblox decal moderation typically takes a few minutes to a few hours. In some cases, especially with high traffic or complex images, it can take longer. You'll see a 'Moderating' status until it's approved or rejected.
Can I use a copyrighted image as a Roblox decal? No, you cannot use copyrighted images as Roblox decals without explicit permission from the copyright holder. Doing so violates Roblox's Community Standards and can lead to your decal being rejected, account warnings, or even bans.
What are the recommended dimensions for Roblox decals? Roblox generally recommends square dimensions like 512x512 pixels or 1024x1024 pixels for optimal decal display. While other sizes might work, square dimensions help prevent distortion when applied to various surfaces.
Where can I find my uploaded decals in Roblox Studio? In Roblox Studio, you can find your uploaded decals in the 'Toolbox' window. Navigate to the 'My Creations' tab, then select 'Decals' to view all the images you've successfully uploaded and had approved.
Do I need Robux to upload decals? No, you generally do not need Robux to upload decals. Roblox allows a certain number of free asset uploads daily. Only if you exceed this daily limit might you be prompted to spend a small amount of Robux for additional uploads.
Easy step-by-step Roblox decal creation, Understanding Roblox moderation for decals, Free tools for decal design, Uploading and using decals in Roblox, Troubleshooting common decal issues, Optimizing image quality for decals, Balancing creativity with Roblox guidelines.
35


How To Make Decals In Roblox Full Guide YouTube . How To Create Decals In Roblox Easy Method 2024 YouTube . How To Make A Decal On Roblox Roblox Create Decals YouTube . How To Put On Decals In Roblox At Rita Magno Blog . How To Make Decals In Roblox YouTube


How To Make Decals In Roblox YouTube . How To Create Decals In Roblox Easy And Simple YouTube . How To Make DECALS In The Chosen One Roblox 2026 YouTube . How To Add Decals Images To Parts In Roblox Studio YouTube . How To Make Decals In Roblox Full Guide YouTube


How To Make Roblox Decals Roblox Tutorial Tutorials YouTube Oar2 . How To Make And Upload Decals In Roblox Mobile Or PC Roblox Studio . How To Make Decals In Roblox 2025 YouTube . How To Make Decals In Roblox Full Tutorial YouTube . How To Make Decals In Roblox Full Tutorial YouTube


How To Use Decals In Roblox Screenshot 62 1 1 562x320 . Roblox Studio Tutorial How To Upload Your Own Decals On Roblox YouTube . How To Make Your Own DECAL In ROBLOX YouTube . How To Make A Roblox Decal Face YouTube . How To Make Decals In Roblox 2024 Full Guide YouTube


How To Create A Decal In Roblox 2020 Roblox Tutorial YouTube . How To Make Decals In Roblox YouTube . How To Make Decals On Roblox Mobile IPhone 2023 YouTube . How To Make Decals In Roblox Full Guide YouTube . How To Make Decals In Roblox 2026 YouTube


HOW TO MAKE DECALS ON ROBLOX YouTube . How To Make Decals In Roblox YouTube . Best 13 HOW TO MAKE DECALS ON ROBLOX Artofit . Roblox 2026 Logo REVEALED New Color New Look YouTube Maxres2 . What Exactly Is A Roblox Decal And How Can You Use Them Id Decal Roblox Image


How To Make Decals In Roblox YouTube Hqdefault . How To Use Decals In Roblox Screenshot 80 300x232 . How To Make Decals On Roblox Mobile 2022 YouTube . How To Make Decals In Roblox Full Guide YouTube . How To Create A Decal In Roblox